
Contour With Stick: Effortless Glamour for Flawless Definition
Contour with stick is a way to change how your face looks. It helps to make your cheekbones, nose, and jawline stand out. Many people use powder or cream for contouring. But today, we will talk about contouring with a stick. It is easy and quick to use. This guide will help you learn how to contour with a stick step by step.

What Is Contour Stick?
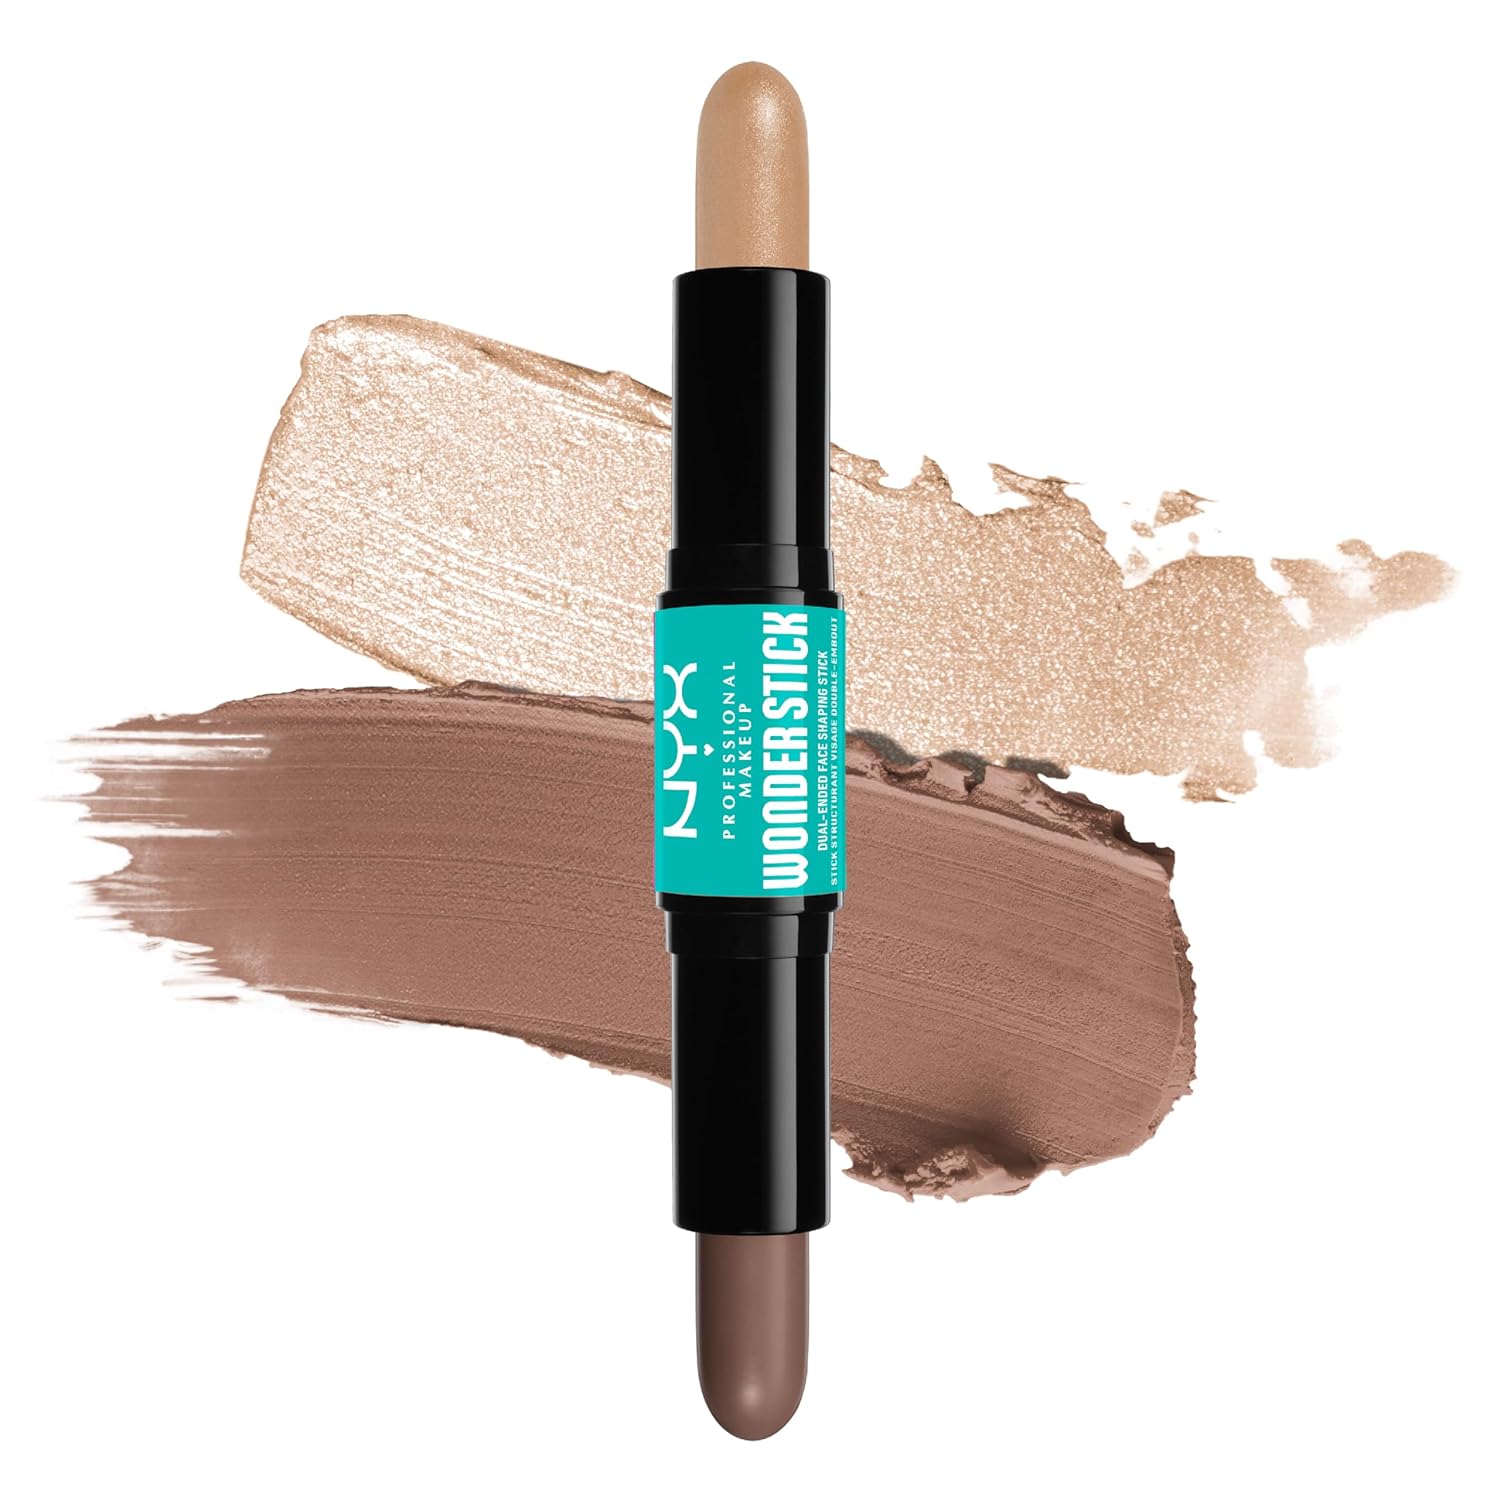
A contour stick is a makeup product. It looks like a thick lipstick or lip balm. The stick has a cream or solid formula. It is darker than your skin color. You use it to create shadows on your face. Shadows help to change the shape of your face.
Contour sticks come in many colors. Choose one or two shades darker than your skin tone. If you want, you can also use a lighter stick. It is for highlighting or making some parts look bigger.
Why Use a Contour Stick?
- Easy to use: The stick shape is simple to hold and apply.
- Portable: You can carry it in your bag.
- Less messy: No need for brushes at first.
- Good for beginners: You can try and fix easily.
What Do You Need?
Before you start, get these items:
| Item | Purpose |
|---|---|
| Contour Stick | To create shadows on the face |
| Blending Sponge or Brush | To blend the contour lines smoothly |
| Foundation or BB Cream | To create an even skin base |
| Highlighting Stick or Light Concealer | To brighten certain areas |
Step-by-Step Guide to Contour With Stick
Follow these easy steps for a natural look.
Step 1: Prepare Your Face
Clean your face well. Apply your usual foundation or BB cream. This helps to make your skin color even. Let it dry for a minute.
Step 2: Apply The Contour Stick
Look in the mirror. Imagine where your face has natural shadows. Usually, these places are under your cheekbones, sides of your nose, jawline, and forehead near your hair.
Draw lines in these areas with the contour stick:
- Under your cheekbones, from your ears to the middle of your cheeks.
- Along the sides of your nose, from the bridge to the nostrils.
- Along your jawline, from your ears to your chin.
- Near your hairline on the forehead.
Use light strokes. You can always add more later.
Step 3: Apply The Highlight Stick
Now, use a lighter stick or concealer. Apply it to the places where light hits your face. These areas are:
- Center of your forehead
- Bridge of your nose
- Under your eyes
- Center of your chin
- Top of your cheekbones
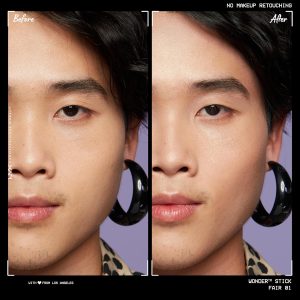
Highlighting makes these parts look bigger or closer.
Step 4: Blend Well
This is the most important step. Take a clean blending sponge or brush. Use small dabbing motions to blend the contour lines.
Blend the dark lines into your skin. Do not rub hard. Blend the light lines too. Make sure no harsh lines are left. Your face should look smooth and natural.
Step 5: Set Your Makeup
If you want, use a translucent powder to set your makeup. It will help your contour stay longer. Use a big fluffy brush for this.
Or you can use a setting spray to make your makeup last all day.
Tips for Contouring With Stick
- Choose the right shade: The contour stick should be 1-2 shades darker than your skin.
- Use natural light: Try to contour in daylight for best results.
- Less is more: Start with a little product, then add if needed.
- Blend, blend, blend: Blending is the key to a natural look.
- Practice makes perfect: Try different shapes and lines to see what fits your face best.
Common Mistakes to Avoid
- Applying too much product at once
- Not blending the lines well
- Using a contour shade too dark or too light
- Ignoring your natural face shape
- Skipping the highlight step
Who Should Use a Contour Stick?
Anyone can use a contour stick. It is good for those who want a quick and easy makeup step. Beginners will find it simple to try. People with all skin types can use it. Just pick the right shade for your skin.
If you have dry skin, choose a creamy contour stick. For oily skin, use a matte finish stick.
How to Remove Contour Stick
At the end of the day, remove your makeup properly. Use a gentle makeup remover or cleanser. Clean your face well to avoid clogged pores. Follow with your regular skincare routine.
Frequently Asked Questions
What Is A Contour Stick Used For?
A contour stick shapes and defines your face. It adds shadows to highlight cheekbones and jawlines.
How Do You Apply Contour With A Stick?
Draw lines on cheekbones, forehead, and nose sides. Blend well with a sponge or brush for natural look.
Can Contour Sticks Work For All Skin Types?
Yes, contour sticks suit most skin types. Choose a shade that matches your skin tone for best results.
What Is The Best Time To Apply Contour Stick?
Apply contour after foundation and before setting powder. This helps it blend smoothly and last longer.

Conclusion
Contour with a stick is an easy way to shape your face. It is simple for beginners and fast to use. Remember these steps:
- Prepare your face with foundation.
- Apply contour stick in shadow areas.
- Add highlight stick in bright areas.
- Blend everything smoothly.
- Set your makeup if you want.
Practice often. You will get better with time. Contouring can help you feel confident and look fresh. Try contouring with a stick today. See how it changes your look in a subtle way.


